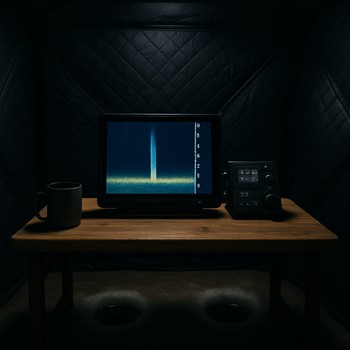
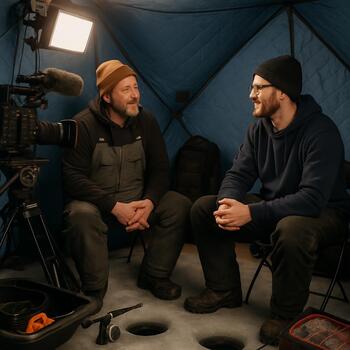
Wide & shared
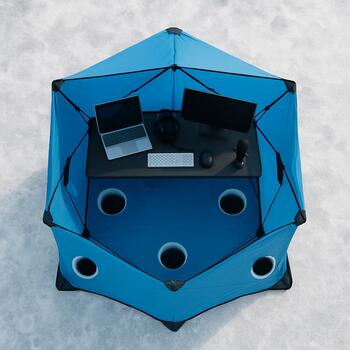
A broad board that sits inside the shelter: everyone can see the screen, and there is space for mugs and spare jigs.
- Screen in the middle, light controls to the left.
- Audio recorder and spare batteries at the rear edge.
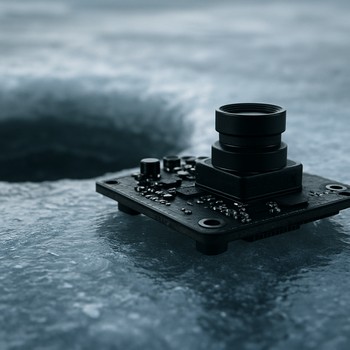
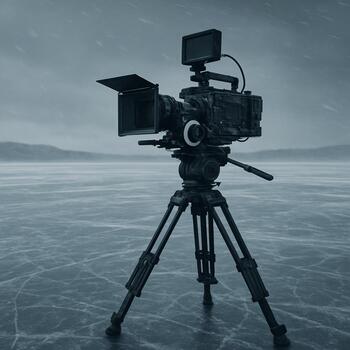
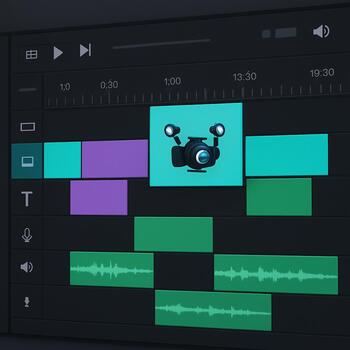
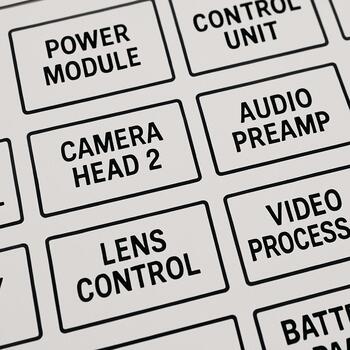
Rig studio
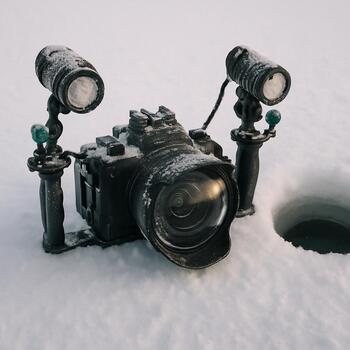
Here we strip rigs down to their boards: camera, cables, lights and batteries arranged so you can move from hole to hole without thinking about the hardware.
Layout lanes
Most rigs you see in our episodes fall into one of these lanes: wide camp boards, narrow solo sticks or tripod-centric rigs.
A broad board that sits inside the shelter: everyone can see the screen, and there is space for mugs and spare jigs.
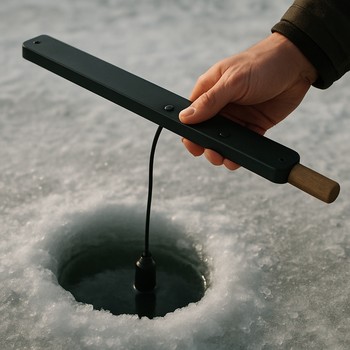
A long, slim board you carry from hole to hole. The camera hangs just over the opening, and the battery rides behind.
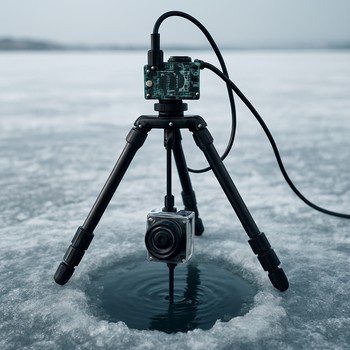
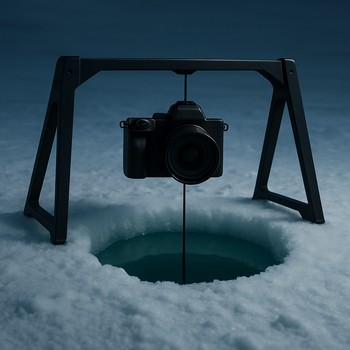
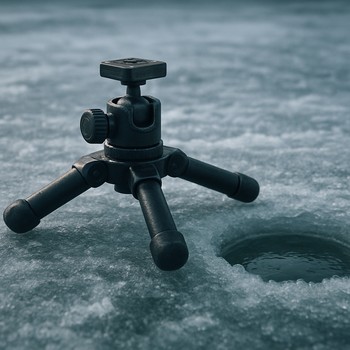
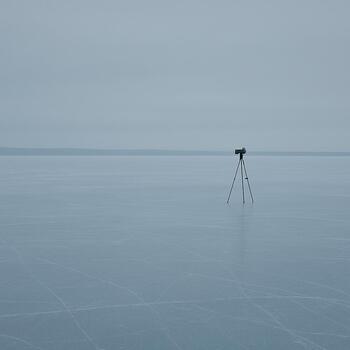
A tripod-centered layout where the board lives on a small plate above the legs, leaving the camera free to dip and tilt.
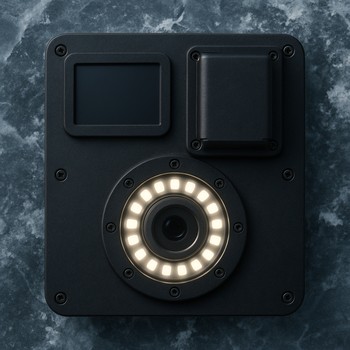
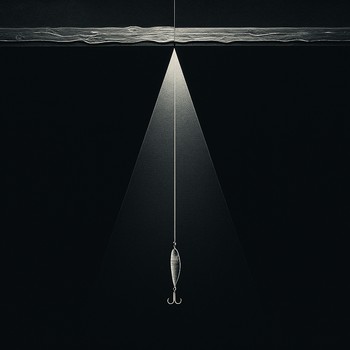
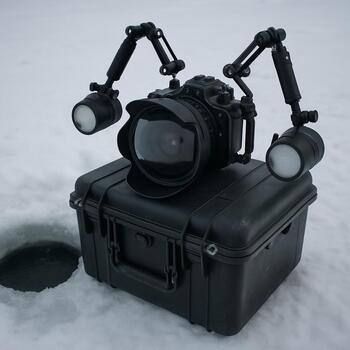
Lighting lab
We treat each light as a cone you can draw on the ice. Narrow it to see details, widen it for mood, or tilt it to keep cables in shadow.


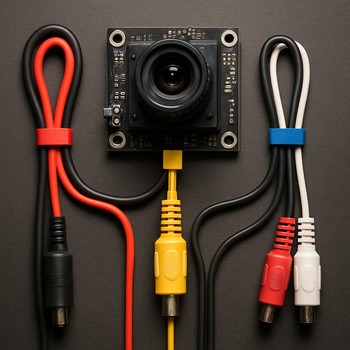
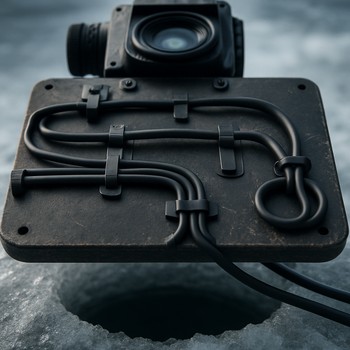
Cable routing
We design cable paths like small river systems. Power, video and audio have their own banks so you can fix a snag in seconds, even in dim light.
Power blocks
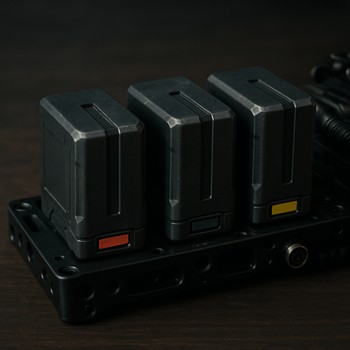
Power is the heaviest part of the rig, so we treat it like architecture. Blocks sit low, close to hands and always in the same pattern.
Three small packs lined along the back edge of the board, feeding camera, lights and recorder separately.
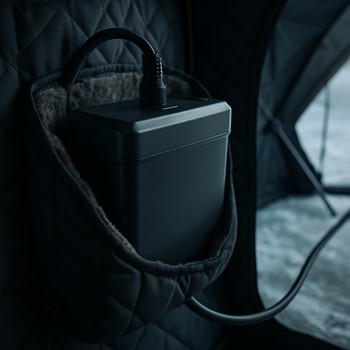
One larger core battery riding in a soft pocket on the side of the shelter, linked with a single umbilical cable.
Mount lab
The wrong mount talks louder than the fish. We pick arms and clamps that move quietly, lock once and do not twist when the ice shifts.
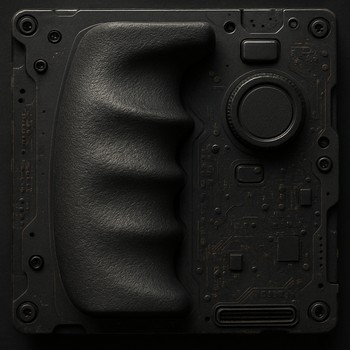
Grips
The board is useless if you hate holding it. We shape handles so they feel obvious even when the hut is dark.
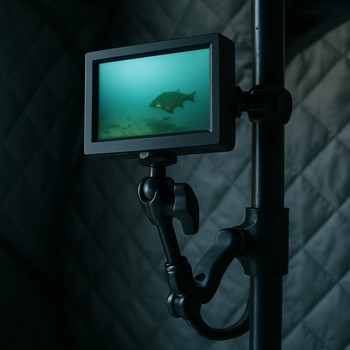
Screens
We either keep the monitor low on the box or float it high inside the shelter. Most anglers pick one and never look back.
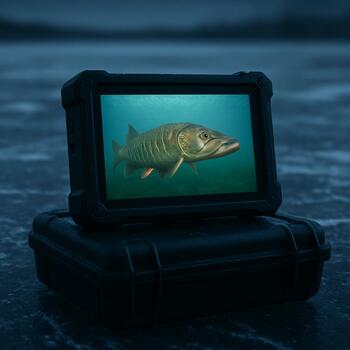
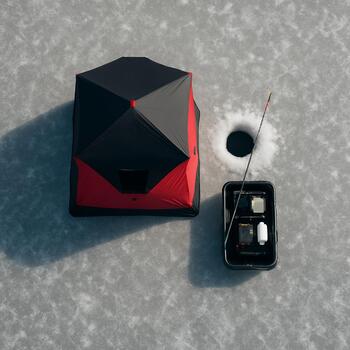
Monitor sits on the box, close to the hole. Perfect when you fish alone and sit low anyway.
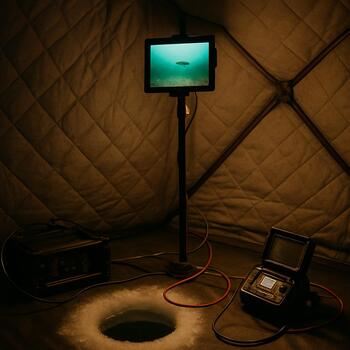
Screen floats at eye level on a clamp arm so everyone in the hut can glance without leaning.
Field tests
We run each board through a short backyard trial: snow, dark and wind. If it shakes or squeaks, it stays home.
We bury the legs a little and kick the snow to see what moves.
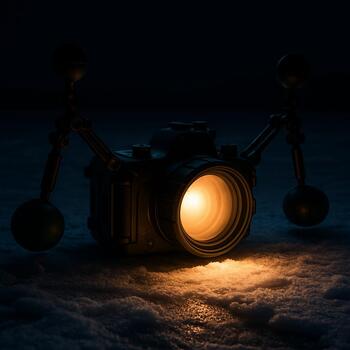
Lights and screen on low to confirm nothing blasts the ice white.
Gusts hit the board from the side. If it twists, we change weights.
Rig recipes
These layouts show up again and again in our sessions. Pick one, change a detail or two and you are ready to drop the camera.
Narrow board with a single handle, one battery row and a modest LED cone for quiet solo hours.
Wide board that lives in the shelter and invites chatter around the screen.
Board plate perched above a tripod, ready for long, patient time-lapses over one hole.
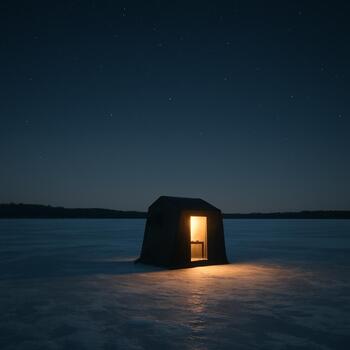
Footprints
We sketch the floor before drilling the hole: where the box stands, where the board rests and where feet can move freely.
Modes
A good under-ice rig flips between “ready by the hole” and “strapped for the walk” in under a minute.
Board open, cables relaxed, monitor bright enough to read silhouettes but not blind the hut.
Screen folded in, cables hugged to the board and the whole rig strapped flat to the sled or box.
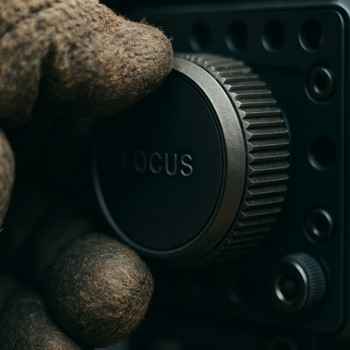
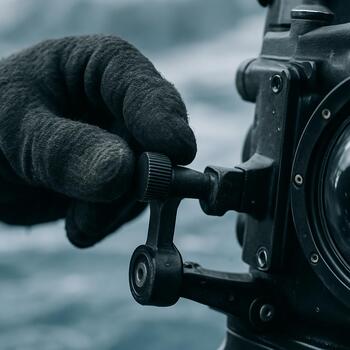
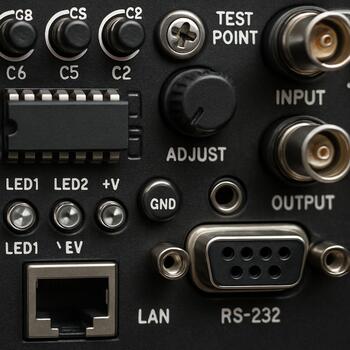
Fine tune
Before we call a rig finished, we always check the dial and the dimmer. A smoother move here means calmer footage later.
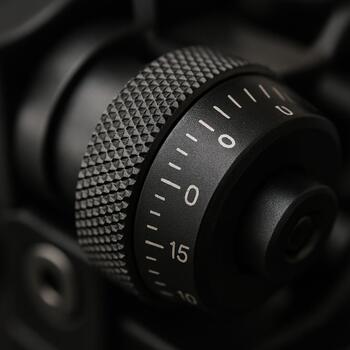
We ease the tilt dial until it moves in small, clean steps instead of jumps.
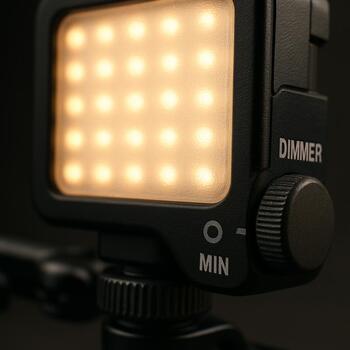
Dimmer wheel should glide from dark to bright without flicker or clicks.
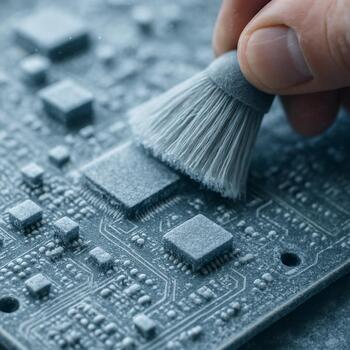
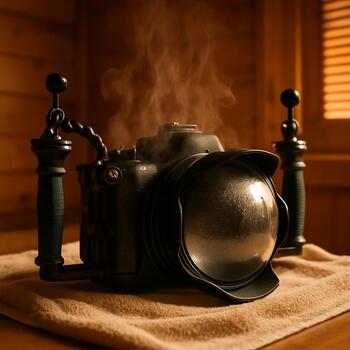
Cold care
After each outing we give the rig a short cooldown ritual: wipe, thaw and dry. It takes minutes and saves cables from snapping in February.
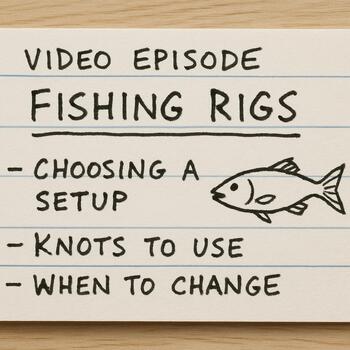
Next move
Rigs exist to feed the logbook. After you are happy with the layout, the very next step is to mark an episode and send it over.
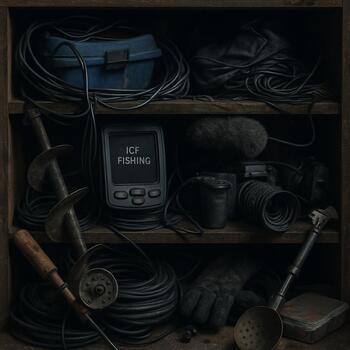
Rig shelf
We like to see the rig shelf as a quiet row: camera, power and sound in clear spots instead of a moving hill of gear.
Marking
A few clear marks on the board save minutes in the dark. We keep the language short and the colors gentle.
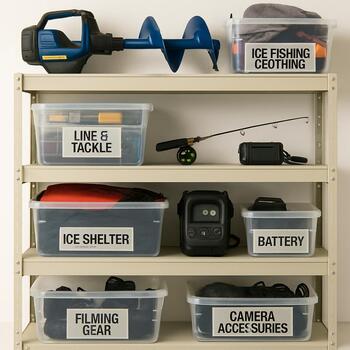
Packing row
On the way out, we line the board up with just two things: sled and box. If it fits this row, it will behave on the ice.
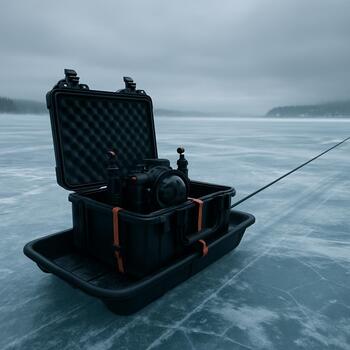
The board rides flat with one strap. Nothing sticks out past the sled edges.
Handle points forward, cables locked in, ready to go straight from sled to hole.